

Coastal Navigation Basics for Beginner Jet Ski Riders
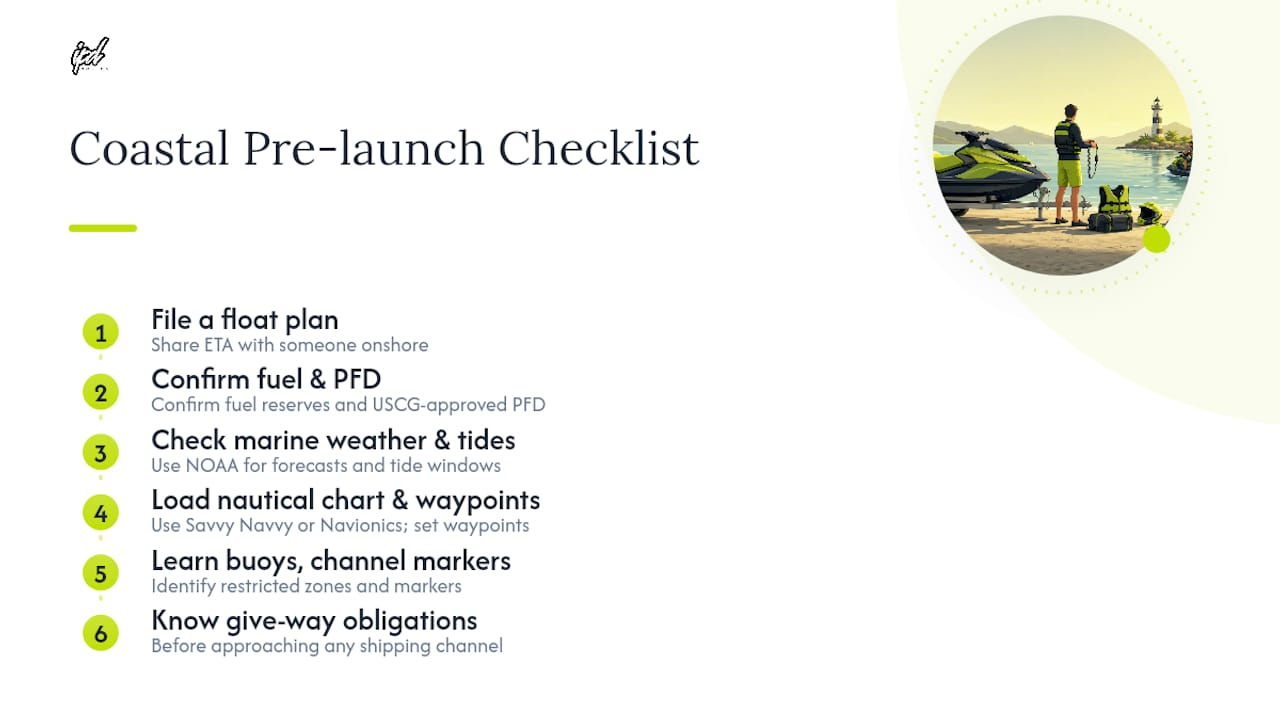
Before you launch, six actions determine whether your coastal ride goes smoothly or sideways: file a float plan and share your ETA with someone onshore; confirm fuel reserves and a USCG-approved PFD; check marine weather and tide windows through NOAA; load a nautical chart on Savvy Navvy or Navionics and set your waypoints; learn the local buoys, channel markers, and restricted zones; and know your give-way obligations before you approach any shipping channel. Get all six right, and beginner jet ski navigation becomes a structured, repeatable process rather than guesswork.
Key Takeaways
Coastal jet ski navigation comes down to preparation: a filed float plan, loaded offline charts, and clear knowledge of give-way rules and tidal windows before you leave the dock.
| Point | Details |
|---|---|
| File a float plan | Share your route and ETA with someone onshore before every coastal ride. |
| Load offline charts | Use Savvy Navvy or Navionics with NOAA charts downloaded before launch. |
| Know give-way rules | PWCs yield to commercial traffic; cross shipping channels perpendicularly without stopping. |
| Check tides before departure | Plan inlet crossings near slack tide to minimize current and fuel burn. |
| Carry emergency comms | A PLB and VHF radio on Channel 16 are your primary rescue tools if GPS or cell service fails. |
Table of Contents
- What should you check before launching a coastal jet ski ride?
- How do you read buoys and spot near-shore hazards?
- How do tides and currents affect your route and fuel?
- Which GPS apps work best for beginner coastal navigation?
- What are the right-of-way rules near shipping channels?
- Safe riding behaviors every new rider needs to know
- What should you do if you get lost or break down?
- Expert tips and recommended tools for new PWC riders
- A note from Casey on what coastal riding actually teaches you
- Sources
What should you check before launching a coastal jet ski ride?
A solid pre-ride routine takes about 20 minutes and prevents the majority of on-water problems new riders encounter.
Documentation and float plan. Write down your launch point, planned route, return time, and emergency contact. Leave it with someone onshore. If you don’t return on schedule, that person calls the Coast Guard.
Required safety equipment:
- USCG-approved PFD, worn and properly fitted
- Kill-switch lanyard clipped to your wrist or PFD at all times
- Waterproof VHF radio or a phone sealed in a waterproof case
- PLB (Personal Locator Beacon) or EPIRB for offshore or remote routes
- Flares and an audible signal (whistle or horn)
- Basic tool kit: zip ties, duct tape, spare spark plug
The BoatUS Foundation’s PWC study guide reinforces that a properly fitted USCG-approved life jacket is non-negotiable, and that pre-agreed hand signals and pickup procedures should be established before any towed activity.
Never plan a route that uses more than two-thirds of your tank one-way. For a deeper look at how speed affects range, the IPD Racing top speed guide covers the fuel-burn tradeoffs worth understanding before a long coastal run.
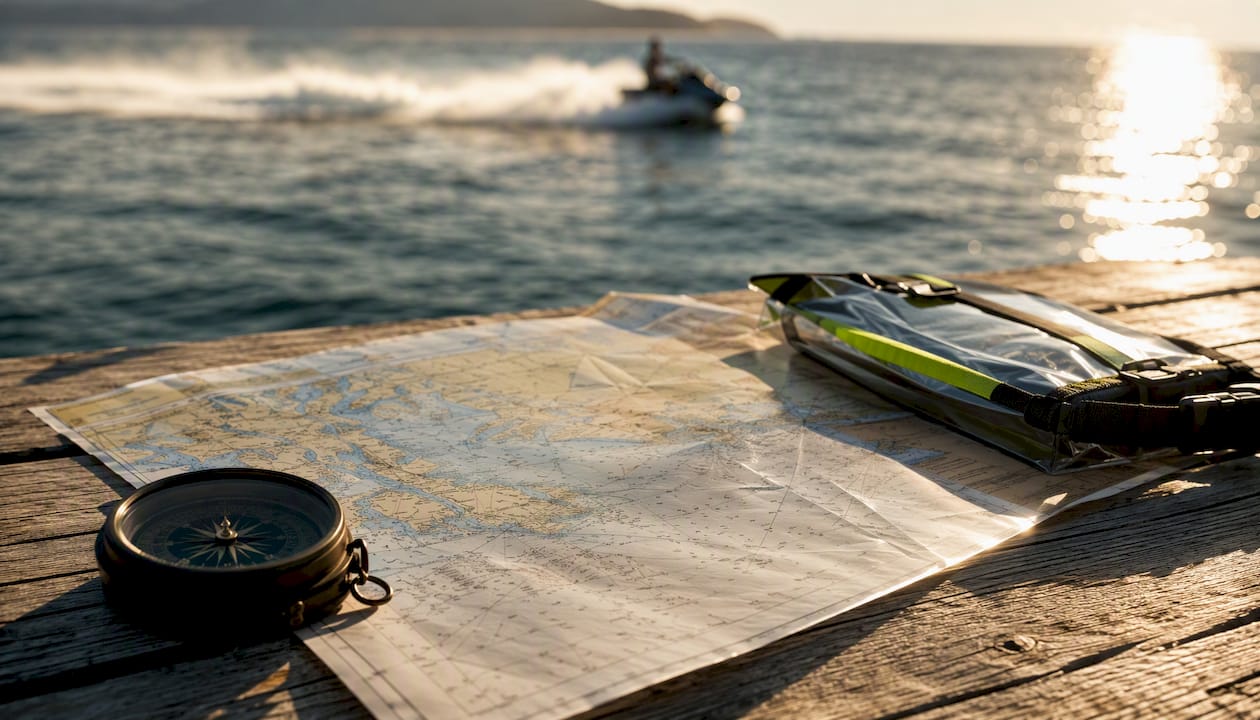
Charts and backups. Download offline charts before you leave the dock. Set your launch point and return waypoint. Carry a printed chart excerpt or compass as a backup.
Local regulations. Check for no-wake zones, manatee protection areas, swim-zone exclusions, and any daylight-only operation rules for your specific launch area. These vary by county and state.
Pro Tip: Before every ride, clip your kill-switch lanyard to your wrist and give it a firm tug to confirm the engine cuts. Many riders discover a worn or improperly seated lanyard only after they’ve already left the dock.
How do you read buoys and spot near-shore hazards?
U.S. coastal waters use the IALA-B lateral marker system. The core rule: red right returning. Red buoys (even numbers) mark the right side of a channel when returning from sea. Green buoys (odd numbers) mark the left. Daymarks follow the same color logic on fixed structures.
Beyond lateral markers, watch for:
- Safe-water marks: red-and-white vertical stripes, indicating open navigable water
- Isolated danger marks: black-and-red horizontal bands over a submerged hazard
- Yellow marks: special-purpose zones (swim areas, restricted areas, race courses)
Near-shore physical hazards that catch new riders off guard include submerged rocks just below the surface in clear water, grass flats that look passable but hide sandbars, rip currents running perpendicular to the beach, and breaking surf over shallow bars at inlet mouths. Tide-driven shoals shift seasonally and won’t always match older chart data.
On the water, a chart symbol is a warning, not a guarantee of safe passage. When depth contours on your chartplotter show less than 3 feet near your track, slow to idle speed and reassess visually before proceeding. A chartplotter’s depth overlays and hazard symbols give you the reference point; your eyes give you the confirmation.
Stay at least 100 feet from designated swim areas and dock structures. If you see breaking white water ahead, treat it as a shoal until proven otherwise.
How do tides and currents affect your route and fuel?
Tides change the depth over sandbars, the speed through inlets, and the handling feel of your PWC. Ignoring them is one of the most common mistakes in coastal jet ski trip planning.
Key concepts:
- Slack tide: the brief window between flood and ebb when current is minimal. The best time to cross narrow inlets.
- Flood tide: water moving onshore. Adds depth over bars but pushes you toward shore.
- Ebb tide: water moving offshore. Reduces depth over bars and can push you into shipping lanes or open water faster than expected.
Riding against a 2-knot ebb current in a narrow inlet can add meaningful time and fuel burn to what looks like a short crossing on a map. Riding with a strong flood can make a return trip faster but reduce your effective stopping distance near docks.
Practical checks before departure:
- Pull NOAA tide predictions for your specific inlet or bay at Tidesandcurrents
- Check current speed forecasts, not just tidal height
- Plan departures to cross tricky inlets near slack tide
- Add a time buffer of at least 30 minutes per tidal crossing to your float plan
A 1-knot current against you over a 5-mile coastal leg adds roughly 15–20 minutes to your transit time at typical PWC cruising speeds. Factor that into your fuel reserve calculation.
Which GPS apps work best for beginner coastal navigation?
The right app turns a confusing stretch of coastline into a readable, waypoint-guided route. Here’s a practical workflow for new riders:
Step-by-step setup:
- Download your app of choice and load the local nautical chart before leaving home.
- Set your launch point as Waypoint 1 and your destination as Waypoint 2.
- Plot a route that stays in water deeper than your PWC’s draft, avoids marked hazards, and steers clear of swim zones and restricted areas.
- Save the full track and share it with your shore contact.
- Enable breadcrumb tracking so you can retrace your path if needed.
App recommendations:
- Savvy Navvy offers real-time GPS positioning, route planning, distance rings, and waypoint management in a clean interface suited for beginners. Available on iOS and Android.
- Navionics provides detailed coastal charts with tide overlays, depth shading, and community sonar data. Strong offline capability.
- NOAA nautical charts are the authoritative source for U.S. coastal waters, providing official depth contours, aids to navigation, and chart symbols. Both Savvy Navvy and Navionics reference NOAA data for U.S. coverage.
Features that matter most for beginners: offline chart downloads (critical when cell service drops), simple waypoint UI, tide and current overlays, and breadcrumb tracking. AIS vessel overlay is useful near busy ports but optional for most recreational routes.
For mounting, use a RAM-style handlebar mount rated for marine use. Keep the screen angle readable at speed and protect the device with a waterproof case or choose a dedicated marine chartplotter. Chartplotter screen size and mounting position directly affect how quickly you can glance at your position without losing situational awareness.
Pro Tip: Export your planned route as a GPX file and email it to your shore contact. If you need rescue, that file tells responders exactly where you intended to go.
What are the right-of-way rules near shipping channels?
PWCs are the give-way vessel in nearly every encounter with commercial traffic. A container ship or ferry cannot stop quickly, cannot always see a small PWC, and cannot maneuver in a narrow channel. That reality shapes every decision you make near a port or inlet.
When approaching a commercial channel like Port Everglades, the correct procedure is: stop short of the channel, watch the full length of the channel in both directions, then cross perpendicularly at a steady speed without slowing or stopping mid-channel. Do not loiter.
Practical rules for busy inlets and ports:
- Monitor VHF Channel 16 if you carry a radio. Large vessels broadcast their movements.
- Watch for prop wash and wake from vessels that passed minutes earlier. It can be larger than the vessel itself.
- Obey posted security zones around cruise terminals and naval facilities. Entering these zones carries federal penalties.
- Plan channel crossings for weekday mornings or slack tide windows when commercial traffic is lighter.
Pro Tip: If you’re unsure whether a ship is moving, watch its bow wave. Even a slow-moving 600-foot vessel creates a wake that can flip a PWC. When in doubt, wait.
Safe riding behaviors every new rider needs to know
Speed control is the single biggest variable in near-shore safety. Slow down near docks, beaches, and swim zones before you reach them, not after.
Maintain at least 100 feet from swimmers, docks, and anchored vessels. In no-wake zones, that means idle speed with minimal wake. Many states enforce these distances with fines, and some coastal counties have added GPS-enforced speed zones.
Reboard from the stern only. Attempting to climb over the side can flip the craft. Practice reboarding in calm, shallow water before your first coastal ride.
One throttle behavior surprises almost every new rider: releasing the throttle on most PWC models significantly reduces or eliminates steering control. If you need to avoid an obstacle, maintain or increase throttle to keep water flowing through the steering nozzle, then steer around the hazard. Chopping the throttle and hoping to turn is how riders hit what they were trying to avoid.
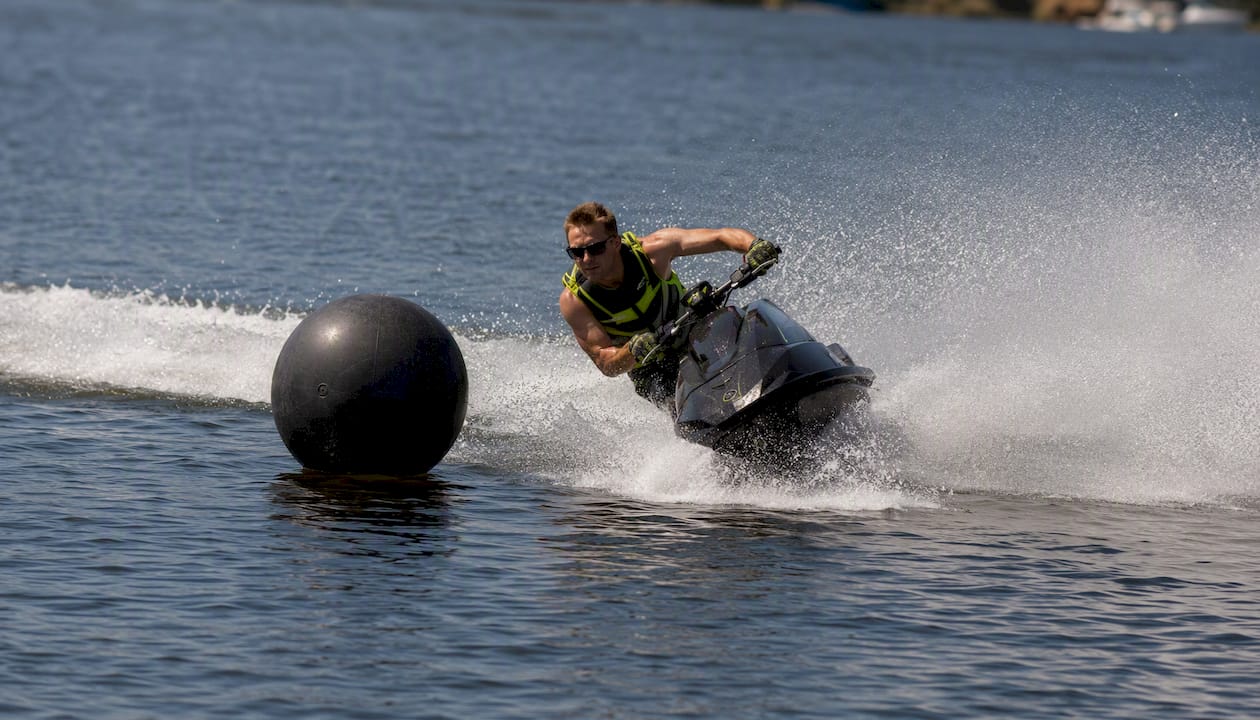
Wear polarized eyewear to cut surface glare. Avoid riding directly into low sun. High-visibility gear (bright PFD, colored helmet) makes you easier to spot from other vessels. Alcohol impairs judgment and reaction time on the water just as it does on the road, and BUI (Boating Under the Influence) carries the same legal weight as DUI in most states.
What should you do if you get lost or break down?
Stay calm and stay with the craft. A PWC floats even when disabled and is far easier for rescuers to spot than a swimmer.
If you get lost:
- Stop. Check your GPS for your last saved waypoint or breadcrumb track.
- If GPS is unavailable, use the sun’s position and your compass to estimate direction.
- Conserve battery. Switch your phone to airplane mode and use GPS only.
- Do not ride at speed in an unfamiliar direction. Anchor or drift and signal for help.
If you run out of fuel or lose power:
- Deploy your anchor or improvise with a line to hold position away from hazards.
- Keep your PFD on.
- Activate your PLB or call the Coast Guard on VHF Channel 16.
- Fire a flare if vessels are within visual range.
- Use your whistle to signal nearby boats.
Emergency kit minimum:
- PLB or personal EPIRB
- Waterproof VHF radio
- Signal flares (check expiration dates before every season)
- Whistle
- Waterproof phone case with emergency contacts saved offline
Carrying a PLB and VHF radio dramatically improves rescue response time compared to relying on a cell phone alone, particularly in areas with poor coastal coverage.
Expert tips and recommended tools for new PWC riders
A few habits separate riders who stay out of trouble from those who don’t.
Throttle and handling:
- Practice slow-speed maneuvering in a calm, uncrowded area before any coastal ride.
- Maintain throttle during avoidance maneuvers rather than releasing it. This is the single most counterintuitive skill in PWC riding.
- Trim your weight slightly forward in chop to keep the bow from lifting.
Recommended tools:
- Savvy Navvy or Navionics for route planning and offline charts
- NOAA nautical charts as the authoritative reference for U.S. waters
- Compact waterproof VHF radio (Standard Horizon HX210 or similar)
- Waterproof phone case with a lanyard
- PLB (ACR ResQLink or similar)
For gear and safety equipment compatible with your specific model, the IPD Racing coastal safety prep checklist covers what to carry and what to upgrade before a coastal ride.
Pro Tip: In an avoidance situation, your instinct will be to release the throttle. Fight it. Maintain throttle, steer around the obstacle, then reduce speed once you’re clear.
A note from Casey on what coastal riding actually teaches you
The first time I planned a coastal route using waypoints and a tide table instead of just pointing the nose down the beach, the difference was immediate. Crossing a busy inlet at slack tide versus fighting a 2-knot ebb is not a subtle distinction. One feels controlled. The other feels like the water is making decisions for you.
The lesson that stuck: preparation done at the dock takes five minutes. The same preparation done mid-channel, with a container ship bearing down, is not preparation at all. Get the float plan filed, get the charts loaded, and know your give-way rules before you leave the ramp. Everything else on the water gets easier from there.
Sources
- Dania Beach to Fort Lauderdale by Jet Ski: Route Planning Tips
- Using a Chartplotter GPS on your PWC | Northern Ontario Travel
- How to drive a jet ski — Discover Boating

