
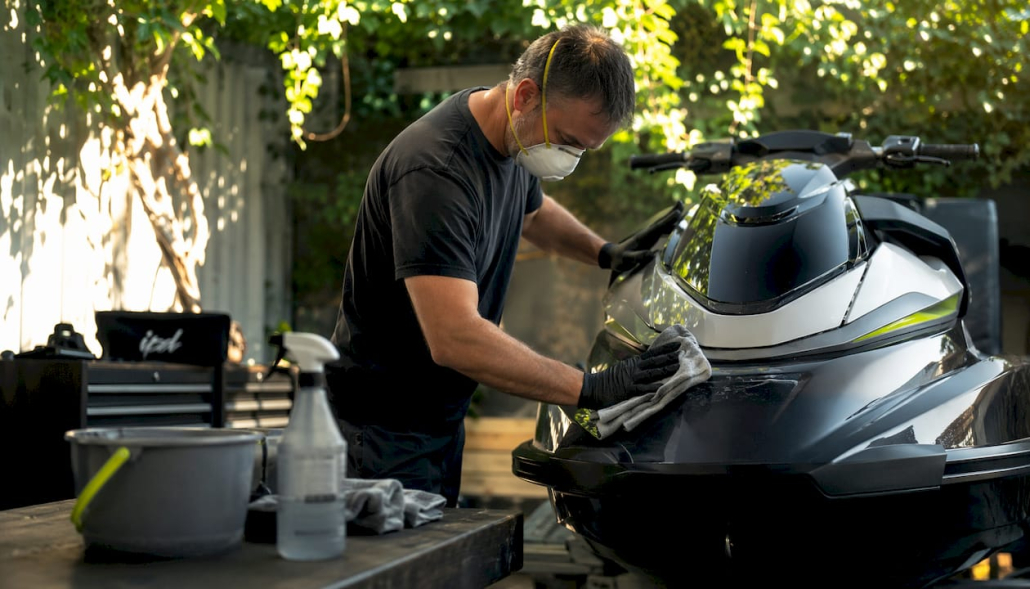
PWC Wax and Polish Guide for Owners: Step-by-Step
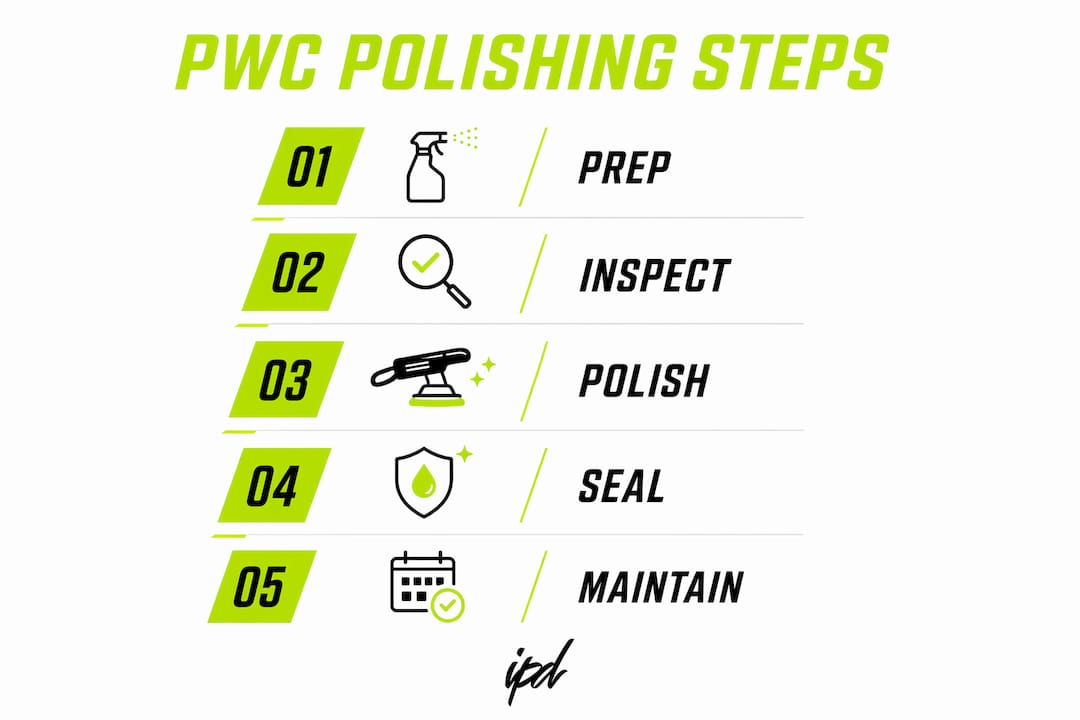
To protect and restore a PWC finish, always clean and decontaminate first, correct defects with progressive polishing (cut → refine → finish), then seal with a marine-grade wax or sealant. Polish is corrective and abrasive; wax and sealant are protective and non-abrasive. Always polish first, wax last.
- Do this now: Rinse salt and grit off the hull, wash with marine-safe soap, clay the surface, run a test spot, then work through compound → polish → sealant in that order.
- Time estimate: A full job on a midsize PWC takes several hours. Light swirls only? Skip compounding and the job takes noticeably less time.
- Product recommendation: Marine-grade synthetic sealant is the preferred choice for daily-use or UV-exposed craft. Carnauba-based wax suits garage-kept or show-prep situations where deeper gloss is the priority.
Table of Contents
- What supplies do you need before you start?
- How do you inspect the hull and choose the right correction path?
- How to prep the surface before polishing
- Step-by-step polishing: machine and hand technique
- How to apply wax, sealant, or coating correctly
- Special situations: dark finishes, decals, and matte gelcoat
- What maintenance schedule keeps protection lasting?
- Common mistakes and how to fix them
- IPD Racing pro tips from Casey
- Key Takeaways
- Why this sequence works for race and recreational PWCs
- IPD Racing has the accessories to back up your detail work
- Useful sources for further reading
What supplies do you need before you start?
Gathering everything before you touch the hull saves time and prevents mid-job mistakes. Here is the complete kit:
- Wash: Marine-safe car wash soap, two-bucket wash setup, wash mitt
- Decontamination: Clay bar or synthetic decon pad, clay lubricant, iron remover or tar/bug remover if needed
- Correction: DA (dual-action) polisher, firm cut foam pad, medium-cut compound; softer refining pad, medium-fine polish; finishing pad, finishing polish
- Protection: Marine-grade synthetic sealant or carnauba paste/liquid wax, spray detailer for maintenance
- Application tools: High-quality microfiber towels (at least 6), foam or cotton applicator pads
- Masking: Low-tack masking tape for trim, decals, and vents
- PPE: Nitrile gloves, N95 respirator (for compound dust), safety glasses
- Other: Garden hose with spray nozzle, two buckets, optional low-pressure air for drying tight areas
Pad and compound shorthand
Match defect level to pad firmness and compound grade. A firm cut pad with a medium compound handles oxidation and deeper swirls. A softer refining pad with a medium-fine polish removes cut marks. A finishing pad with a finishing polish brings the surface to a clean, high-gloss state ready for sealing.
Pro Tip: Avoid cheap polyester-edged towels. High-quality cotton or microfiber applicators provide more correction bite by hand and won’t scuff gelcoat the way bargain towels do. Spend the extra few dollars here — it shows in the final result.
How do you inspect the hull and choose the right correction path?
Choosing the wrong correction level wastes time and risks removing more gelcoat than necessary. Work through this sequence before picking up a polisher:
- Wash and dry the hull first. Dirt and salt mask defects. You cannot accurately read a wet or dirty surface.
- Check for chalking and oxidation. Run a clean white cloth across the hull. White or chalky residue means oxidation is present. Light chalking responds to compound; heavy chalking or a powdery surface may need wet-sanding.
- Inspect for scratches and clearcoat condition. Drag a fingernail across a scratch. If it catches, it is deeper than surface level. Peeling or flaking clear is a red flag for professional repair, not DIY polishing.
- Look for embedded contaminants. Run a clean fingertip across a washed, dry panel. Rough or gritty texture means bonded contamination that clay must remove before any polishing begins.
- Run a test spot. Pick an inconspicuous area, typically near the stern. Work through cut → refine → finish on a 12-inch section. Evaluate the result under direct light. This confirms your pad and product pairing before committing to the full hull.
Decision fork: Light swirls and minor water spots respond to a fine polish alone. Moderate oxidation or deeper swirls need a compound first. Severe oxidation, heavy etching, or deep scratches require wet-sanding with 1,000–2,000 grit before any machine polishing.
How to prep the surface before polishing
Skipping prep is the most common reason polishing fails. Grit left on the hull turns your polishing pad into sandpaper.
- Rinse thoroughly. Use a hose to flush salt, sand, and loose debris from every surface, including the hull underside, footwells, and intake area.
- Wash with marine-safe detergent. Mix according to label directions, scrub with a wash mitt using straight-line strokes, and rinse completely. Avoid circular scrubbing during the wash — it embeds grit.
- Apply iron or tar remover if needed. Spray on, allow to dwell per product instructions, then rinse. This step is optional but worthwhile on craft used in brackish or industrial waterways.
- Clay bar the entire hull. Lubricate the surface generously, then glide the clay bar in straight passes. The clay pulls bonded contamination out of the gelcoat. Fold and re-knead the clay frequently. When it stops picking up residue, the surface is ready.
- Final rinse and dry. Rinse off any clay lube residue, then dry with clean microfiber towels or low-pressure air. The hull must be completely dry before polishing begins.
- Mask trim, decals, and vents. Apply low-tack tape along all plastic trim edges, graphic borders, and vent openings. Compound residue in these areas is difficult to remove and can stain porous plastics permanently.
Safety and environmental note: Wear nitrile gloves and an N95 respirator during compounding. Work in shade or a covered area — polishing in direct sun heats the surface and causes product to flash dry before it can be worked. Capture compound-laden rinse water where possible and follow local disposal guidelines, particularly in saltwater-adjacent areas where runoff regulations may apply.
Step-by-step polishing: machine and hand technique
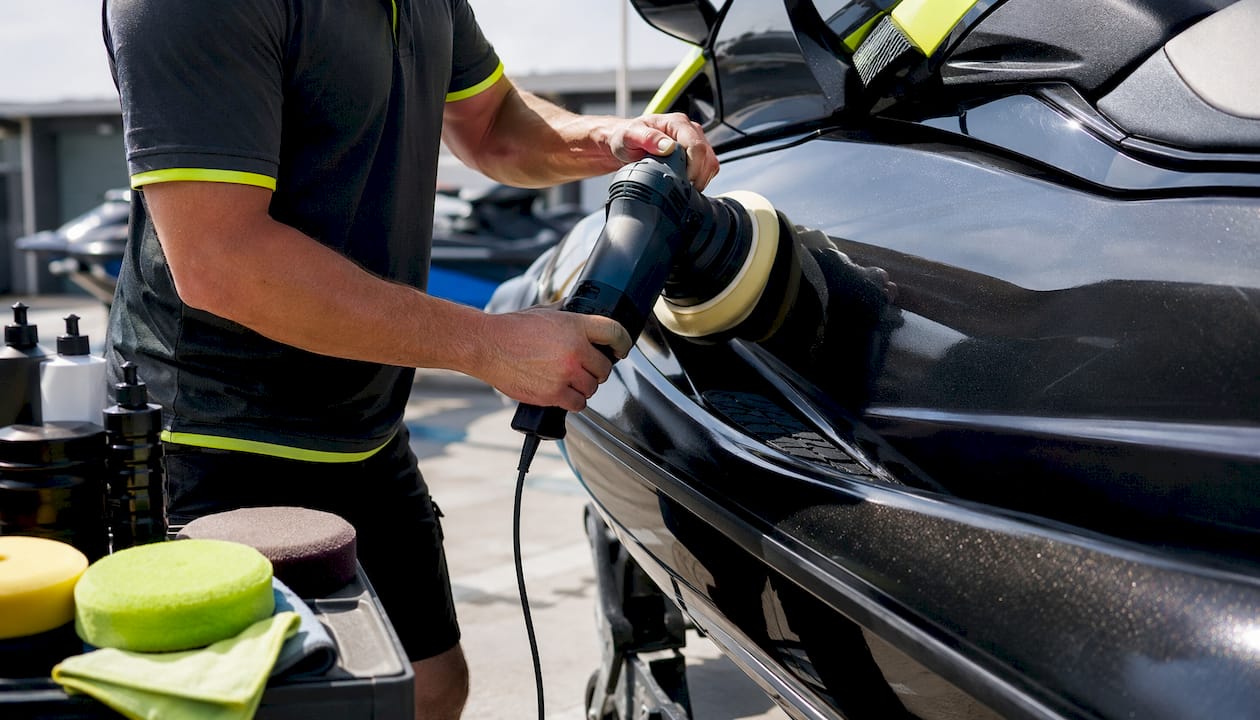
Polishing must be matched to hull condition: light swirls need a fine polish, heavy oxidation needs compound or wet-sanding. The progressive correction sequence keeps you in control at every stage.
Pad-and-compound matrix
| Defect Level | Pad Type | Compound/Polish Grade | DA Speed (OPM) |
|---|---|---|---|
| Light swirls / water spots | Finishing pad (soft) | Finishing polish | 3,000–4,500 |
| Moderate swirls / light oxidation | Refining pad (medium-soft) | Medium-fine polish | 3,000–4,500 |
| Heavy oxidation / deeper scratches | Cut pad (firm) | Medium compound | 3,000–4,500 |
| Severe oxidation | Wet-sand first, then cut pad | Medium compound → refine → finish | 3,000–4,500 → 3,000–4,500 → 3,000–4,500 |
Machine polishing with a DA polisher
- Prime the pad. Apply 3–4 pea-sized drops of compound to the pad before starting the machine. Never run a dry pad on gelcoat.
- Set speed and spread. Start the DA at low speed (2–3 on most machines) to spread product across a 16-inch section before increasing to working speed.
- Work in overlapping passes. Use 50% overlap on each pass, moving in straight horizontal then vertical lines. Avoid circular patterns — they create swirl marks on curved PWC hulls.
- Maintain pad contact. Keep the pad flat against the hull. On curved sections like the bow or sponsons, slow your movement and reduce pressure slightly to avoid edge burning.
- Progress through stages. After the cut stage, wipe residue with a clean microfiber, inspect under light, then move to the refining pad and polish. Repeat the wipe-and-inspect step before the finishing stage.
- Hand-polish small areas. For tight curves, intake edges, and trim surrounds, use a folded high-quality cotton or microfiber cloth. Apply light pressure in straight strokes. Cloth applicators can produce different correction levels depending on firmness — a tightly folded cloth delivers more bite than a loosely folded one.
Pro Tip: Pads that dry out on the machine generate heat fast. Keep a spray bottle of water nearby and mist the pad lightly between sections. If the pad surface feels hot to the touch, stop, rinse it under running water, and let the hull section cool for two minutes before continuing. Heat damage to gelcoat is irreversible.
How to apply wax, sealant, or coating correctly
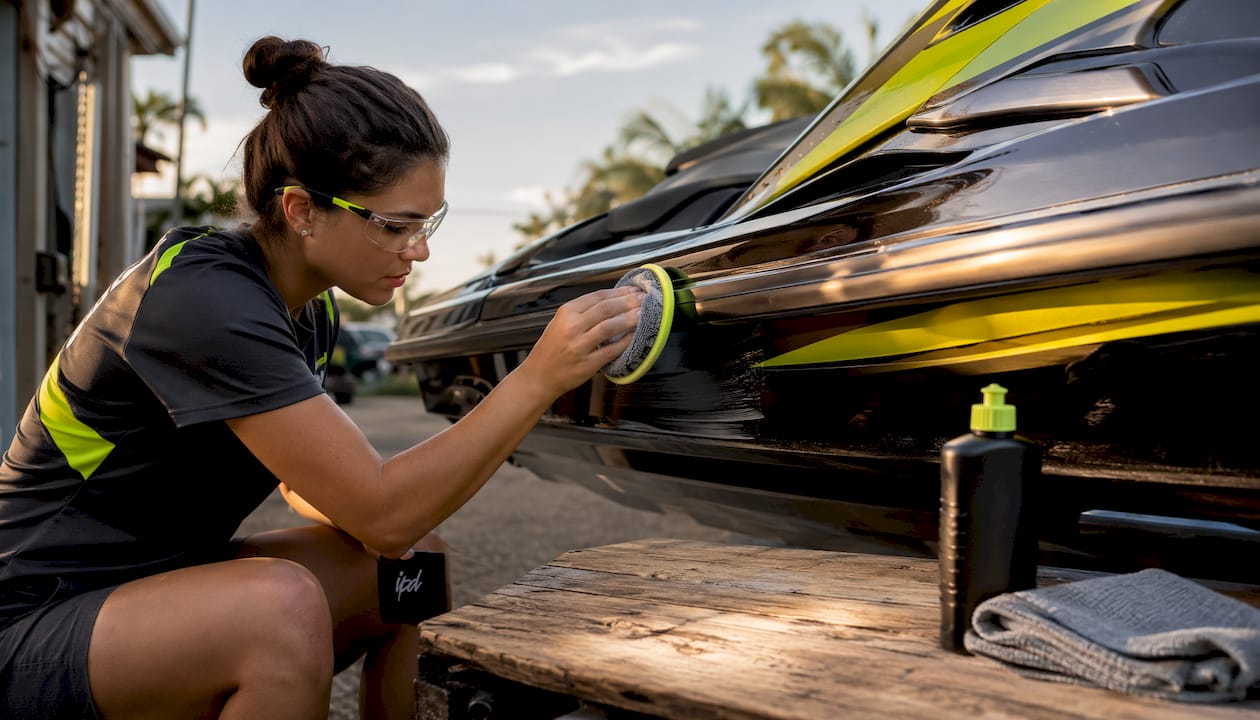
Polishing is corrective; wax and sealant are the protective finish layer. Apply them only after the hull is fully corrected, clean, and dry.
Product type comparison
| Product Type | Durability | Gloss | Ease of Use | Saltwater Resistance |
|---|---|---|---|---|
| Paste carnauba | 1–3 months | Very high | Moderate | Low–moderate |
| Liquid carnauba-polymer hybrid | 3–5 months | High | Easy | Moderate |
| Synthetic sealant | 4–7 months | Moderate–high | Easy | High |
| Spray maintainer | 2–6 weeks | Moderate | Very easy | Moderate |
| Ceramic coating | 12+ months | High | Difficult (prep-intensive) | Very high |
Synthetic sealants show better heat and UV resistance, making them the preferred choice for craft used frequently or stored outdoors. Carnauba-based products deliver a richer, warmer gloss but typically require more frequent reapplication under intense sun. Hybrid products like carnauba-polymer formulas can be layered for extra protection and offer a middle ground between gloss and durability. Ceramic coatings deliver the longest protection but require thorough prep and a professional ceramic coating application process for best results.
Application steps
- Wait after polishing. Allow the hull to cool to ambient temperature. Do not apply wax to a warm surface.
- Apply thin coats. Thin, even coats bond better than thick ones. A thick coat is harder to remove and leaves residue on trim.
- Work in sections. Apply to one panel at a time, spreading with a foam or cotton applicator in straight passes.
- Observe dwell time. Most sealants and waxes need 1–5 minutes to haze before buffing. Check the product label. Letting product sit too long in direct sun causes it to bond hard and streak.
- Buff with a clean microfiber. Use a fresh, dry microfiber towel. Flip frequently to avoid redepositing removed product.
- Apply a second coat. For maximum protection, apply a second coat after the first has fully cured (typically 30–60 minutes for sealants). Two thin coats outperform one thick coat.
- Protect trim and decals. Wipe any product off plastic trim immediately with a damp cloth. Cured wax on porous plastic is difficult to remove without abrasion.
Special situations: dark finishes, decals, and matte gelcoat
Race-style and custom-finish PWCs require adjusted technique. Standard approaches can leave visible marring on dark hulls or damage graphics.
- Dark and high-contrast finishes: Dark finishes are more sensitive to marring. Use a finishing pad at low DA speed (3,000–4,500 OPM) and confirm results on a test spot before working the full hull. Avoid firm cut pads on dark gelcoat unless oxidation is severe and confirmed by the test spot.
- Decals and vinyl graphics: Avoid compound on decals entirely. Mask graphic edges with low-tack tape before any polishing step. Wax and sealant can be applied over vinyl safely, but keep dwell time short and buff gently. For detailed guidance on preserving vinyl graphics, protecting vinyl wraps follows the same principles as PWC decal care.
- Matte gelcoat surfaces: Standard high-gloss waxes will add unwanted sheen to matte finishes. Use a dedicated matte protectant or matte-specific sealant. Avoid machine polishing matte surfaces unless you are intentionally converting them to gloss.
- Chalked gelcoat: Heavy oxidation on older hulls may require a dedicated oxidation remover before compounding. Apply by hand or with a firm pad at moderate speed, then follow with the standard cut → refine → finish sequence. Check the performance graphics care guide for additional tips on protecting custom hull graphics.
What maintenance schedule keeps protection lasting?
Seasonal guidance recommends 3–4 full wax or sealant applications per year for craft used in harsh climates or stored outdoors. Spray detailers handle interim refreshes between full jobs.
- After every ride: Rinse the entire hull with fresh water to remove salt, minerals, and biological residue. A quick spray detailer or spray wax applied to a dry hull takes under five minutes and keeps protection active between full applications.
- Monthly or after heavy saltwater use: Apply a spray sealant or quick detailer to the full hull. This restores hydrophobic properties without requiring a full wash-and-polish cycle.
- Seasonal full detail (2–4 times per year): Full wash, clay decontamination, polish if the test spot shows defects, and 1–3 coats of durable sealant. Craft stored outdoors in full sun need more frequent full details than garage-kept units.
- Pre-storage checklist:
- Wash and dry the hull completely
- Apply a fresh coat of sealant or wax
- Cover the craft with a fitted watercraft cover to block UV and debris
- Store in a shaded or covered location when possible
- Avoid plastic wrap or tarps that trap moisture against the hull
Common mistakes and how to fix them
Most detailing problems are preventable. Here are the ones that show up most often and what to do about them:
- Running the polisher too fast on curved sections: Reduces pad contact, creates uneven correction, and risks burning edges. Slow the machine and reduce pressure on bows and sponsons.
- Letting pads dry out: A dry pad generates heat quickly and can damage gelcoat. Keep pads damp and rinse them under running water between sections.
- Using abrasive compound on decals or trim: Compound removes material. On vinyl graphics, it removes ink. On porous plastic trim, it leaves permanent white residue. Mask everything before compounding.
- Skipping decontamination: Clay is not optional. Polishing over bonded contamination grinds particles into the surface and creates new scratches. If the hull feels rough after washing, clay it.
- Applying too much product: Thick wax coats do not cure evenly and leave streaks. Thin coats bond better and buff off cleanly.
- Fixing polish burns: If a burn mark appears (dull, hazy patch from heat), stop immediately. Allow the surface to cool, then work the area with a refining pad and medium-fine polish at low speed. If the burn has gone through the clearcoat, stop and consult a professional.
- Removing residue from trim: Dampen a microfiber with a small amount of isopropyl alcohol (diluted) and wipe gently. Do not scrub.
When to call a professional: Clearcoat delamination, deep gelcoat cracks, or extensive wet-sanding needs beyond a 2,000-grit correction are outside DIY scope. Attempting these without the right equipment risks permanent hull damage. The IPD Racing maintenance and repair resource page covers repair thresholds in more detail.
IPD Racing pro tips from Casey
Race-prep detailing differs from recreational detailing in a few specific ways. Here is what experienced riders focus on:
- Stress-prone areas first: Concentrate polishing effort on the bow, hull sides, and sponson edges — areas that take the most spray impact and UV exposure during competition. These sections oxidize faster and benefit most from a fresh sealant coat before each race season.
- Protect intake and footwell surfaces during detailing: Tape over the intake grate and footwell drains before applying compound or sealant. Product that enters the intake can contaminate the pump. A piece of low-tack tape takes 30 seconds and prevents a costly flush.
- Combine protective covers with sealant for maximum longevity: A fitted cover blocks UV between sessions and dramatically reduces how often a full detail is needed. Casey’s PWC tuning best practices guide covers race-prep sequences that pair well with this detailing workflow.
- One-step products are a compromise: They combine correction and protection in a single pass, which sounds efficient. In practice, the abrasive content is too mild for real correction and the wax content is too thin for durable protection. Use them only for very light maintenance between full details.
Pro Tip: Before any race-season detail, check the hull for stress cracks around the footwell mounts and bow. Polishing over a hairline crack can seal it temporarily and hide a structural issue. Identify and address cracks before detailing, not after. Casey’s seat cover replacement guide covers adjacent DIY inspection steps worth reviewing alongside this workflow.
Key Takeaways
A complete PWC detail follows five non-negotiable steps: prep, test-spot, progressive polish, seal, and maintain — skipping any one of them undermines the others.
| Point | Details |
|---|---|
| Always prep before polishing | Clay decontamination removes bonded particles that cause new scratches during polishing. |
| Use progressive correction | Work cut → refine → finish in sequence; skipping stages leaves correction marks in the final surface. |
| Match sealant to usage | Synthetic sealants suit daily-use or UV-exposed craft; carnauba suits garage-kept or show-prep situations. |
| Manage DA polisher heat | Keep pads damp, rest sections, and stop immediately if the pad or surface feels hot to the touch. |
| IPD Racing maintenance resources | IPD Racing’s shop and guides support the full detail workflow, from protective covers to race-prep best practices. |
Why this sequence works for race and recreational PWCs
The detailing sequence in this guide is not arbitrary. Every step exists because skipping it creates a problem that costs more time to fix than the step itself would have taken.
The trade-off most owners get wrong is between durability and gloss. Carnauba wax looks exceptional on a freshly polished hull. But on a craft that sits in direct sun between sessions, that same wax degrades in weeks. A synthetic sealant with less visual drama will still be protecting the hull two months later. For race-focused riders who care about hull condition as much as performance, that durability difference is the practical choice.
The test-spot step is the one most people skip and the one that prevents the most expensive mistakes. A single 12-inch test section confirms whether the pad and product combination is working before it is applied to the entire hull. That five-minute check has saved more than one hull from unnecessary compounding or, worse, from a burn that required professional correction.
The progressive correction sequence (cut → refine → finish) works because each stage removes the marks left by the previous one. Jumping straight to a finishing polish on a heavily oxidized hull produces a surface that looks good under artificial light and reveals every defect in sunlight. The sequence is not about using more products — it is about using each product for what it is designed to do.
IPD Racing has the accessories to back up your detail work
A clean, well-protected hull is only as durable as the storage and protection setup around it. IPD Racing carries the accessories that extend the life of a fresh detail between sessions, from fitted watercraft covers that block UV and debris to performance-focused gear for riders who treat maintenance as part of race prep.
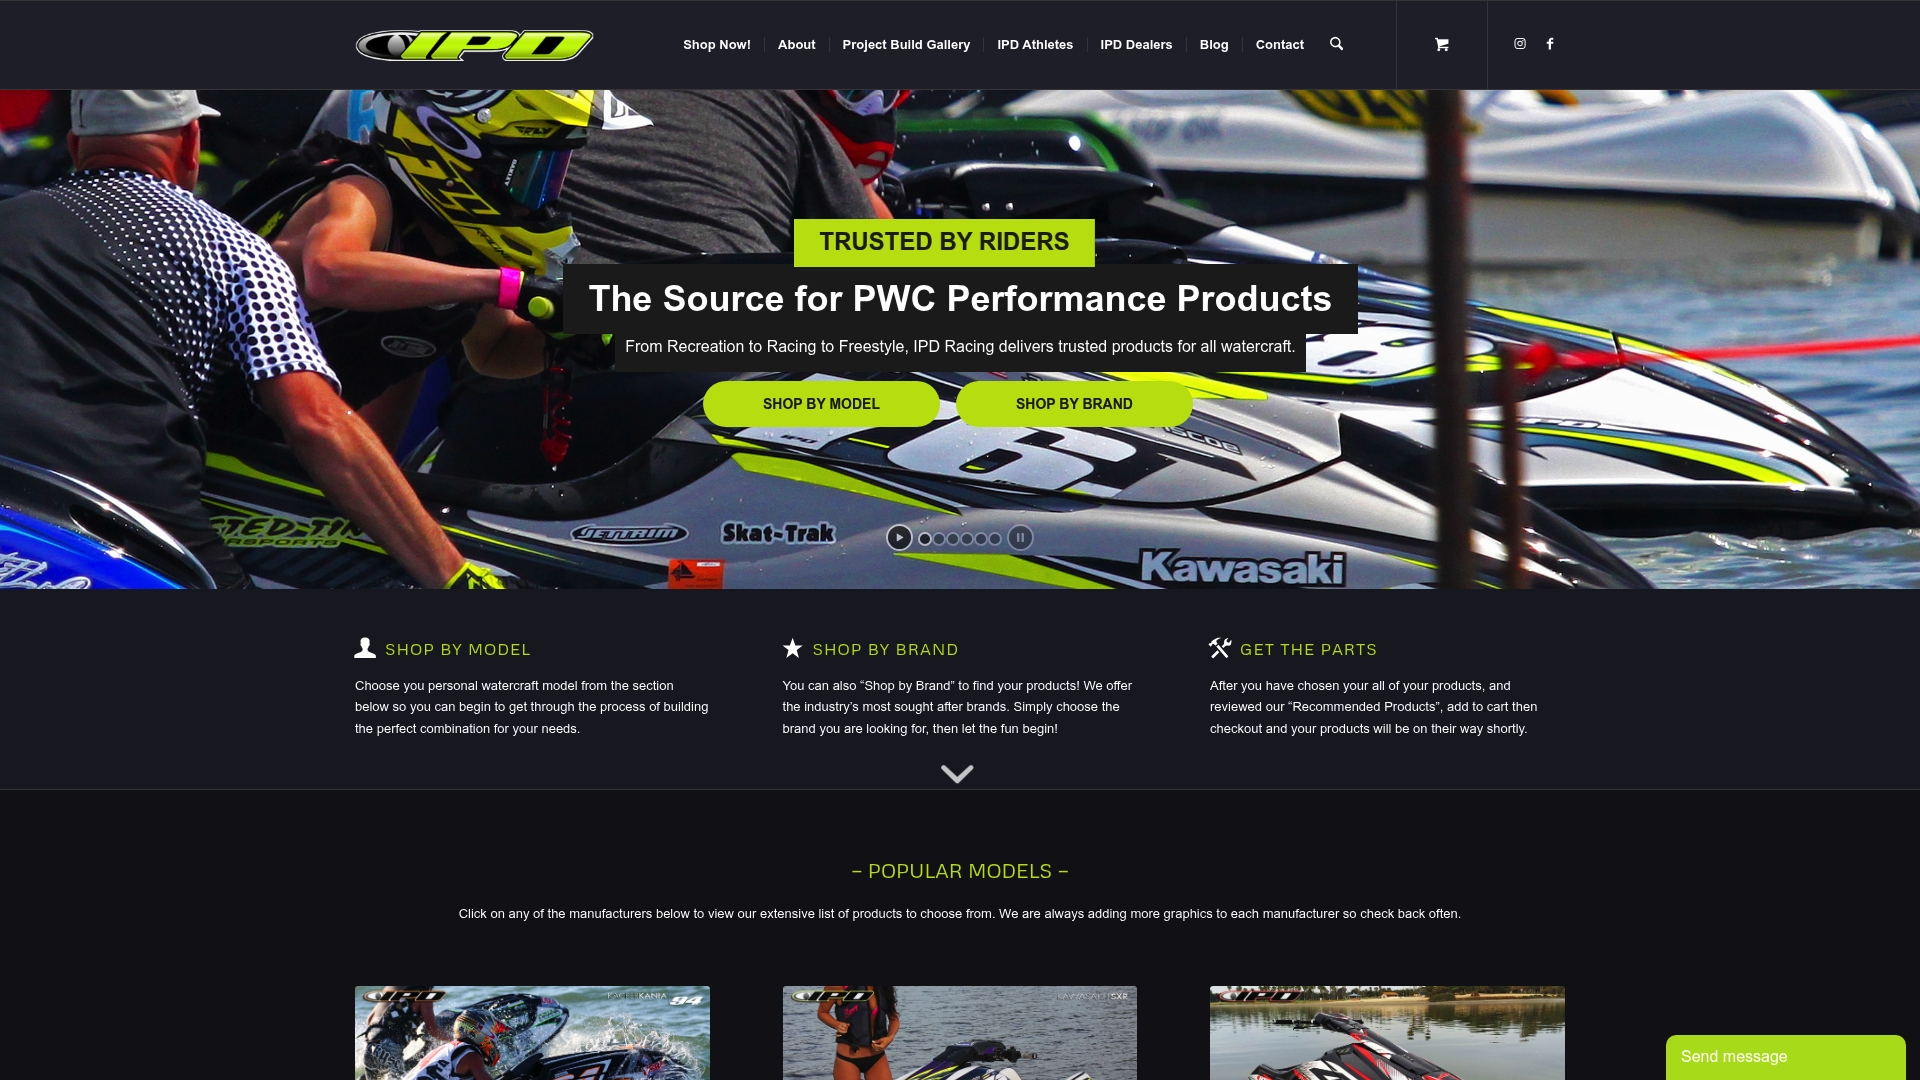
Whether you are prepping for a competition season or keeping a recreational craft in top condition, the IPD Racing shop has covers, protective accessories, and performance parts that complement the work you put into your hull. For riders focused on race-ready performance, the PWC tuning best practices guide pairs directly with this detailing workflow. Browse the full catalog and find what fits your craft and your riding style.
Useful sources for further reading
- How to Polish a Jet Ski Properly: PWC Detailing Guide — Comprehensive PWC-specific polishing sequence and DA technique reference
- How To Detail Your Waverunner or Jet Ski — Step-by-step detailing sequence from wash through wax
- Best Car Waxes of 2026, Tested — Tested comparison of wax and sealant types including synthetic vs. carnauba durability
- Doo It Right: Clean and Protect — OEM guidance from Sea-Doo on cleaning and spray wax application for personal watercraft
- How to make your jet ski look brand new — Practical rubbing compound and polish application guide for gelcoat restoration
- IPD Racing Shop — Covers, accessories, and performance parts for PWC owners and racers
- Jet Ski Race Prep Checklist for Competitors — Race-focused checklist that complements this detailing guide

