
Free-Ride Hull Setup Steps for Tuners: A Step-by-Step Guide
Getting a hull ready for free-ride performance comes down to four moves: measure the existing geometry, gather your tools and backing hardware, position ballast and shapers, and confirm everything with a measured sea trial. Skip any one of these and you’re guessing instead of tuning.
Here’s the high-level sequence before you touch a drill:
- Measure rocker, transom height, beam, and draft, and log baseline speed-to-RPM numbers.
- Assemble tools, backing plates, and sealant before disassembling anything.
- Choose temporary, semi-permanent, or structural modifications based on hull type.
- Position ballast and shapers, then run a controlled sea trial to confirm the wake.
- Adjust in small increments and re-test rather than making one big change.
Confirm your hull’s USCG capacity plate before adding ballast weight, and use backing plates on any through-bolted hardware. Thin fiberglass cracks fast without one.
Key Takeaways
A free-ride hull setup succeeds when measured baseline geometry, correctly backed hardware, and incremental ballast and shaper adjustments are confirmed through repeated sea trials rather than one-shot guesswork.
| Point | Details |
|---|---|
| Measure before modifying | Record rocker, transom height, beam, and draft, plus baseline speed-to-RPM numbers, before touching tools. |
| Backing plates are not optional | Any through-bolted hardware on fiberglass thinner than a quarter inch needs a backing plate to avoid stress cracks. |
| Ballast ratio starts near 2:1 | Rear-to-bow ballast distribution near 2:1 is the standard starting point for most surf setups. |
| Tune in small increments | Adjust wedge, trim, or ballast one step at a time and re-test rather than making large changes at once. |
| IPD Racing supplies the hardware | IPD Racing’s ProWatercraft and performance parts lines carry mounting hardware and props sized for PWC hull modifications. |
Table of Contents
- Tools and Prep Before You Cut, Drill, or Add Ballast
- Step-by-Step Setup: From Measurement to First Tune
- How to Sea-Trial and Tune the Setup
- Common Mistakes and Red Flags That Mean Stop Work
- Why These Changes Actually Work
- A Tuner’s Note on Where DIY Ends
- Parts That Support Your Free-Ride Setup
- Frequently Asked Questions
- Sources
Tools and Prep Before You Cut, Drill, or Add Ballast
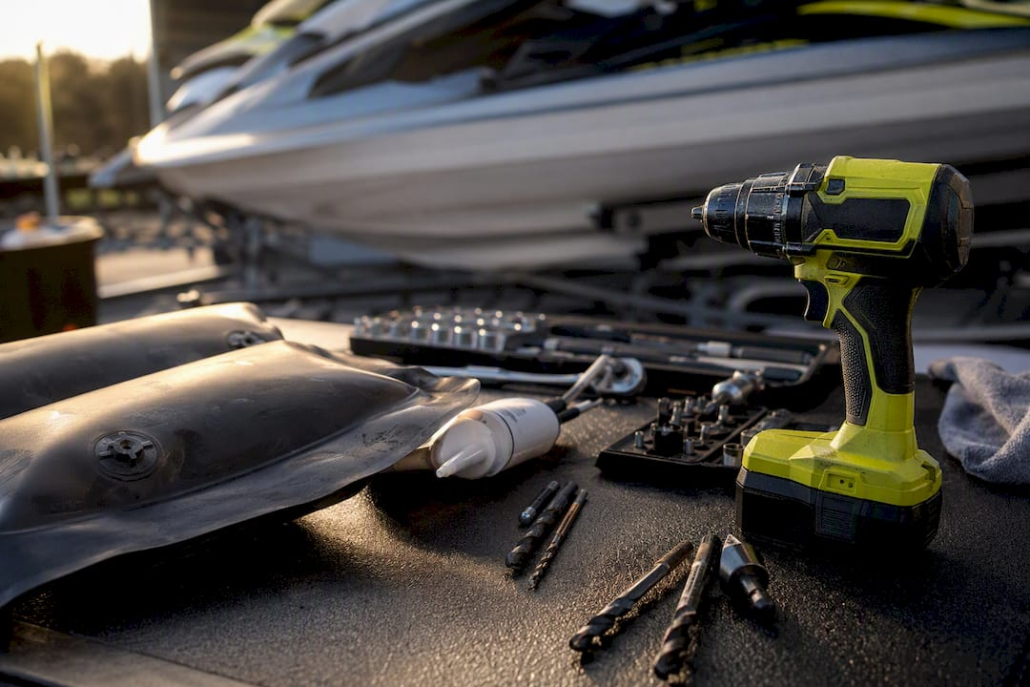
A free-ride hull conversion lives or dies on prep work, not the drilling itself. Gather your tools first: a drill with sharp bits, a chamfer bit, backing plates, backing washers and nylock nuts, marine sealant, 3M tape, sandpaper or a file, mounting cleats for strap attachments, ballast bags with a pump, a wakesurf shaper mounting kit, and a prop puller if you’re touching the drive.
Before disassembly, document your hull’s baseline: rocker, transom height, beam, draft, the USCG capacity plate rating, access space under the deck, and any factory wiring or plumbing that runs through the area you’re modifying. Manufacturer installation manuals for wake tower and hull hardware consistently flag gelcoat chipping and wiring interference as the two most common install mistakes.
Work with a buddy for heavy lifts. Protect gelcoat with painter’s tape before marking cut lines. Drill pilot holes first, run the bit in reverse to start the cut and avoid spider cracking, and add a backing plate anywhere the laminate is thinner than a quarter inch.
Pro Tip: Photograph every mounting location and label parts as you remove them. Reassembly goes twice as fast when you’re not guessing which bracket came from where.
Step-by-Step Setup: From Measurement to First Tune
Step 1: Measure and document
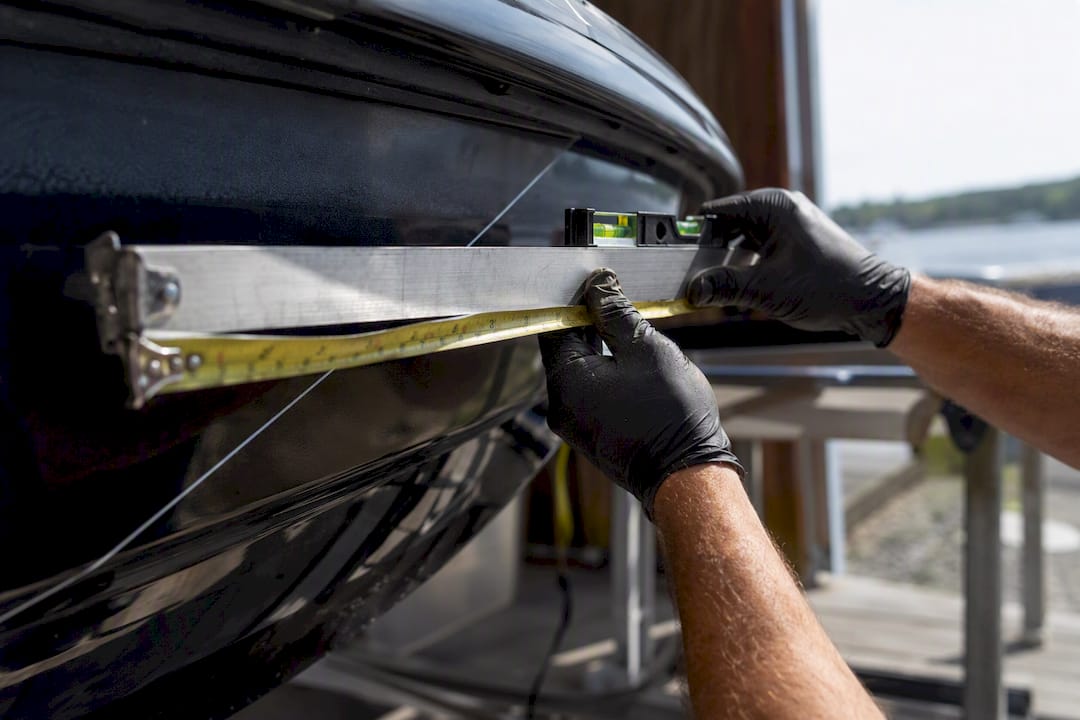
Record rocker curve, transom height, beam, and draft with a straightedge, tape, and a level. These four numbers define how your hull currently behaves, and every change you make afterward should be judged against them. Run a short baseline pass on the water first: log speed against RPM, and photograph the stock wake profile from directly behind the transom. You’ll need this comparison later.
Step 2: Pick your approach by hull type
V-hulls with moderate deadrise usually respond well to strap-on or suction shapers before anything permanent. Flat-bottom and stepped hulls often need more aggressive ballast shifts to build a pocket at all, which pushes toward semi-permanent, through-bolted hardware. Reserve structural changes, foam removal or transom trimming, for hulls where temporary hardware simply can’t move enough water. Structural work is one-way. Don’t start there.
Step 3: Structural prep and drilling
Mark your hole locations, then drill small pilot holes before stepping up to full size. Chamfer every hole edge so gelcoat doesn’t chip when the fastener seats. Backing plates go on the inside face of any panel taking real load, bedded with marine sealant and a drop of thread-locking compound on the threads. Snug fasteners to spec, not to “as tight as it’ll go.” Overtorquing cracks gelcoat just as reliably as skipping the backing plate does.
Step 4: Ballast placement and distribution
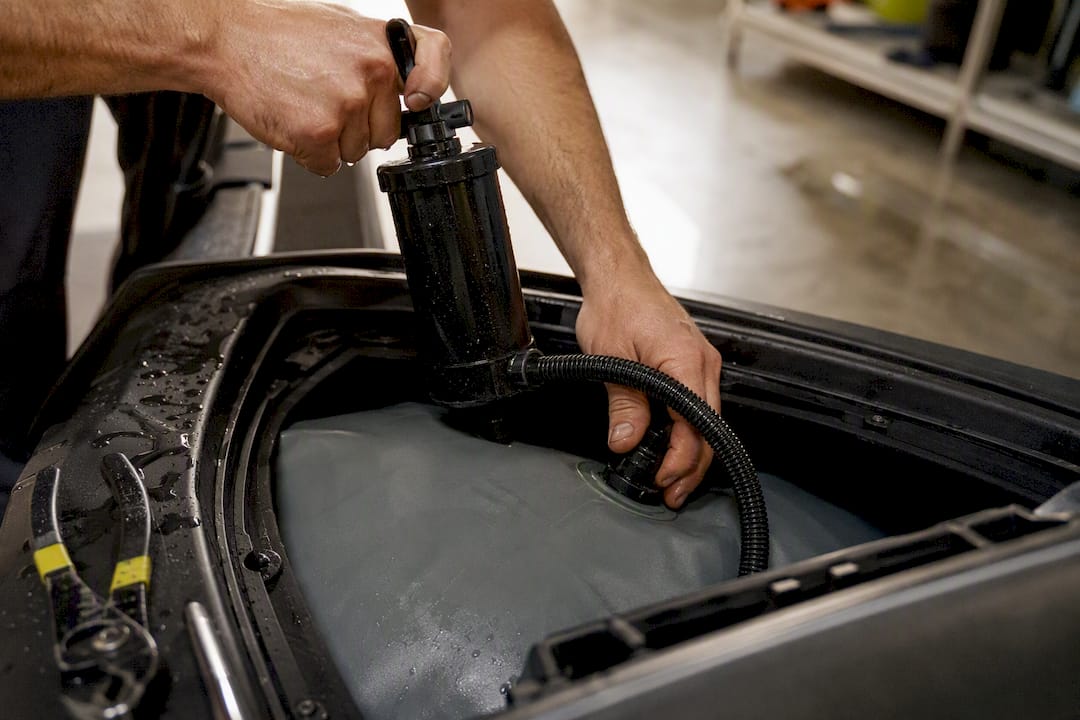
A rear-to-bow ratio near 2:1 is the standard starting point for most surf setups, with the bulk of that rear weight concentrated in the corner opposite your intended wave side. Center-locker ballast adds bulk push without steering the wake to one side, so treat it as a volume adjustment rather than a shaping tool. Start light, fill incrementally with your ballast pump, and reassess the wake after each addition rather than dumping in a full load at once.
Step 5: Install shapers and trim devices
Mission Delta-style shapers mount at the transom corner and reshape the wave on one side by redirecting flow off the hull. Strap-on and suction versions avoid permanent drilling entirely, though suction shapers need a flat, un-textured hull surface to seal properly, which rules them out on hulls with heavy graphics or wrap texture. Trim tabs and surf wedge systems work the transom angle itself, and small adjustments here move the wake more than most riders expect. Start with the lowest setting and work up.
Step 6: Propeller and drive considerations
Heavy ballast changes torque demand on the drive. A lower-pitch surf prop typically compensates by keeping RPM in a usable range under the extra weight, where a stock or high-pitch prop can bog the engine or hold RPM too high for comfortable cruising. If you’re unsure how a pitch change interacts with your specific drive, that’s a mechanic conversation, not a trial-and-error one.
Step 7: Final fit checks and bolting sequence
Torque fasteners in sequence, working from center outward, and re-check under-deck access for any wiring you may have nudged during install. Seat backing plates evenly. A plate that’s cocked even slightly transfers load unevenly and can crack gelcoat months later, well after you’ve forgotten which install caused it.
Stop immediately if drilling reveals delamination, soft spots, or wiring you didn’t account for. That’s not a setup problem anymore. That’s a repair.
How to Sea-Trial and Tune the Setup
- Log your test conditions: ballast configuration, shaper or wedge position, rider count and placement, wind, and sea state.
- Set a baseline speed. Most modern surf setups start productive testing between 10.5 and 12 mph.
- Shift ballast in small increments and note how the pocket length and whitewash change with each pass.
- Adjust the wedge or trim tab in small steps rather than large swings, watching stern angle and pocket depth after each change.
- Photograph the stern profile and whitewash pattern at each configuration so you can compare passes later instead of relying on memory.
Axis documents a similar sequence in its own boats: fill ballast on a timer, set speed, then fine-tune Power Wedge position in small steps until the wave cleans up. That incremental approach, rather than one big adjustment, is what separates a surfable wake from a frustrating afternoon of guesswork.
Stop and reassess if you see engine overheating, persistent cavitation, the bow burying on straight runs, or the transom submerging. None of those resolve themselves with more ballast.
Common Mistakes and Red Flags That Mean Stop Work
Drilling without a backing plate is the single most common structural mistake, and it’s the one that shows up as a stress crack months later. Overloading rear lockers past the USCG capacity plate rating is the second. Others worth flagging:
- Skipping pilot holes and gelcoat protection, which causes spider cracking around new fasteners.
- Uneven ballast distribution that shortens the wake pocket instead of lengthening it.
- Jumping to a higher-pitch prop under heavy ballast, which bogs the engine instead of helping it.
If you find delamination or a soft spot while drilling, stop. Redistribute ballast, back off wedge angle, and drop speed before assuming a new shaper is the problem. Isolating one variable at a time tells you what’s actually causing the issue.
Why These Changes Actually Work
Hull geometry governs two kinds of resistance: viscous drag along the wetted surface and wave-making drag as the hull pushes water aside. Small changes to transom height and aft-body shape shift how much water the stern displaces at a given speed, which is why a wedge or shaper adjustment of an inch or two produces a noticeably different wake.
Shapers work by breaking flow asymmetrically off one side of the transom, forcing more water to pile up on that side and building a taller, cleaner pocket than the stock hull produces on its own.
Researchers using a fully parametric hull-optimization workflow, running roughly 500 CFD test cases across sampled design variables, found measurable resistance differences that held up when validated in towing-tank testing.
That kind of controlled testing is why sectional-area and aft-body changes produce predictable results rather than random ones. Practical workshops can’t run 500 CFD cases before lunch, which is exactly why the incremental sea-trial approach in this guide exists. Newer surrogate-model optimization work shows the same principle at a smaller scale: measured, repeatable adjustments beat one big guess every time.
A Tuner’s Note on Where DIY Ends
Hands-on hull tuning rewards patience more than confidence… Most of what’s above you can do in a weekend with basic tools, but structural changes like transom trimming or foam removal deserve a professional look first if you’re not certain what’s under the deck… IPD Racing carries the hardware and mounting parts referenced throughout this guide, along with installation support for riders who want a second opinion before they drill.
Parts That Support Your Free-Ride Setup
Every step above eventually runs into the same question: where do you get hardware that actually fits a PWC hull instead of a wakeboat? IPD Racing built its ProWatercraft handling and hull upgrade line specifically around that gap, with mounting hardware, backing plates, and hull attachments sized for personal watercraft rather than adapted from larger boat parts.

For the propeller and drive-side adjustments covered in Step 6, IPD Racing’s performance parts catalog covers prop options suited to running heavier ballast without bogging RPM. If your hull work includes footholds, handling hardware, or hull-mounted brackets, the Watercraft Werks parts line covers that category directly. Once your gelcoat is exposed during drilling or trimming, a protective coating like marine ceramic coating helps guard the finish around new hardware. Check part compatibility for your specific hull and model before you order, then start with the ballast and mounting hardware categories first since those changes are the easiest to reverse if your first configuration isn’t right.
Frequently Asked Questions
What are the basic free-ride hull setup steps for a first-time tuner?
Measure your baseline hull geometry, prep tools and backing hardware, choose temporary or semi-permanent shaper attachment, position ballast near a 2:1 rear-to-bow ratio, then confirm with a sea trial before making further changes.
Do I need to drill my hull for a wakesurf shaper?
Not necessarily. Strap-on and suction-cup shapers avoid permanent drilling, though suction versions need a flat, un-textured hull surface to seal properly.
What speed should I start at when tuning a free-ride wake?
Most modern surf setups start productive testing between 10.5 and 12 mph, then adjust ballast and trim from there based on pocket length and wake shape.
How do I know if my hull modification went wrong?
Watch for bow burying on straight runs, transom submersion in turns, persistent cavitation, or engine overheating. Any of these means stop and redistribute ballast or reduce wedge angle before continuing.
Sources
- Frontiers in Energy Research (2024) — parametric hull optimization and CFD validation
- Scientific Reports / Nature (2025) — 3D deformation and surrogate-model hull optimization
- Wakesports Unlimited (2026) — how to set up your boat for wakesurfing (ballast, speed, wave shape)
- Axis Wake blog (2026) — step-by-step Axis surf setup

