
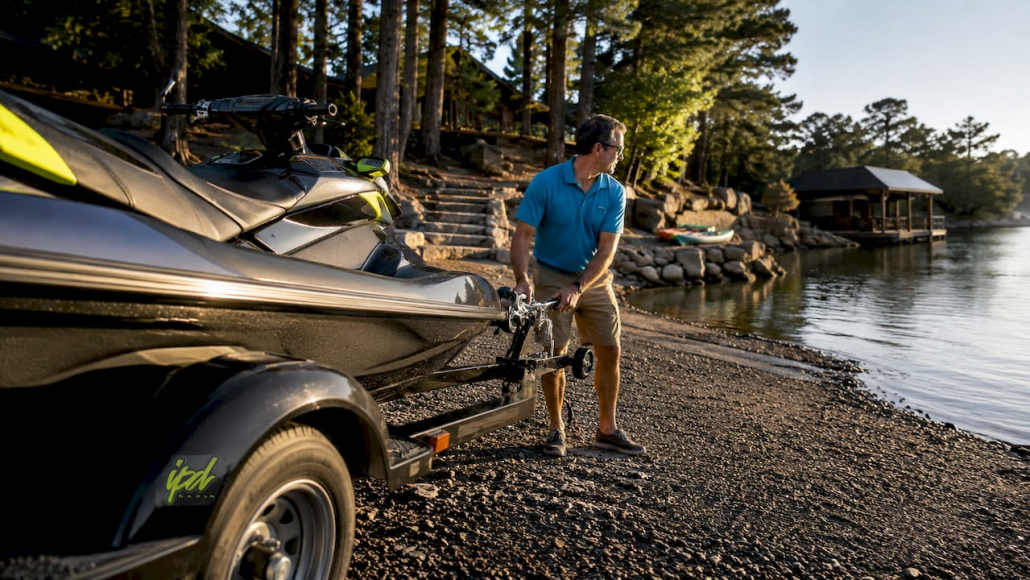
Jet Ski Launch Ramp Setup: A Complete Owner’s Guide
A jet ski launch ramp setup is the coordinated system of ramp design, trailer preparation, and launching technique that enables smooth, safe watercraft deployment and retrieval. Understanding what is a jet ski launch ramp setup means knowing how slope, materials, trailer type, and anchoring all work together. The industry standard ramp slope sits between 10–15 degrees, and getting that angle right determines whether your personal watercraft (PWC) slides off cleanly or gets stuck. IPD Racing works with riders across recreation, racing, and freestyle, and proper ramp setup is the foundation every session starts from.
What is a jet ski launch ramp setup, and what design specs matter?
A jet ski launch ramp setup is defined by four technical variables: slope angle, surface material, ramp width, and drainage design. Each variable directly affects how safely and quickly you can get your PWC in and out of the water.

Slope angle and rise-to-run ratio
The 1:12 rise-to-run ratio is the standard for DIY and public ramps alike. That translates to roughly 10–15 degrees of incline. A ramp that is too steep creates a walking hazard and makes it hard to control a trailer. A ramp that is too shallow prevents the jet ski from sliding off the bunks cleanly. Both errors cause problems that are easy to avoid with proper planning.
Materials and surface treatment
Common ramp materials include pressure-treated lumber, poured concrete, aluminum, and high-density polyethylene. Pressure-treated lumber with 1/8-inch drainage gaps between planks is the most common DIY choice. Concrete is durable but requires a non-slip coating or embedded aggregate to prevent falls. Aluminum and polyethylene panels are lighter and resist corrosion, making them well suited for saltwater environments.
Ramp width and type comparison
| Ramp Type | Best Use Case | Key Advantage |
|---|---|---|
| Fixed concrete ramp | High-traffic public launches | Durability, low maintenance |
| Pressure-treated lumber | Private residential docks | Cost-effective, DIY-friendly |
| Floating dock system | Tidal or fluctuating water levels | Adjusts with water level |
| Portable aluminum ramp | Temporary or travel use | Easy transport and storage |
Ramp width should accommodate your PWC trailer with at least 12 inches of clearance on each side. Most standard jet ski trailers measure 60–72 inches wide, so a ramp width of 84–96 inches is the practical minimum for comfortable maneuvering.
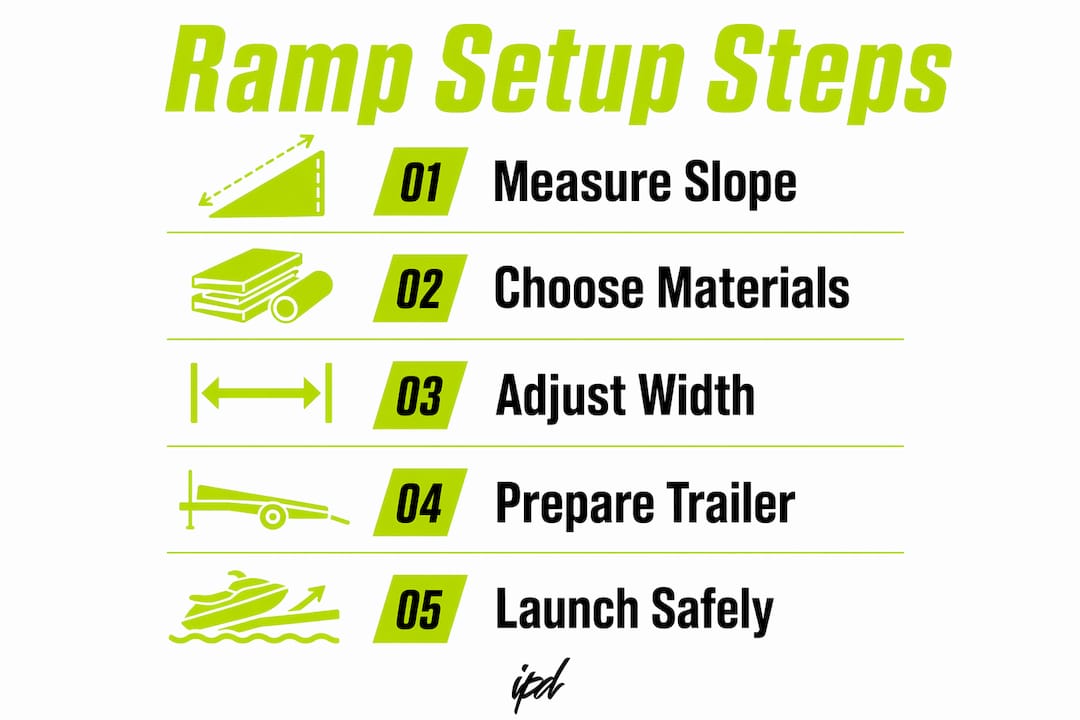
Pro Tip: Apply marine-grade non-slip tape or rubber matting to the top 6 feet of any ramp surface. This is where most slips happen during wet conditions, especially when carrying gear.
How to configure your jet ski trailer for an optimal ramp setup
Trailer configuration is the most overlooked part of a successful launch. A mismatched trailer causes hull damage, slow launches, and frustrating retrieval. Trailer setup directly impacts safety and ease of launch in ways that compound over hundreds of uses.
Bunk trailers vs. roller trailers
- Bunk trailers cradle the hull on carpeted pads. They provide stable, stationary support and protect the hull during transport. They work best on gradual ramps where the PWC can float off naturally.
- Roller trailers use a series of rollers that let the jet ski slide on and off with minimal effort. They are the better choice for steep ramps or solo operators who cannot rely on a second person to guide the craft.
- The choice between the two depends on your ramp slope, how often you launch, and whether you typically have help.
Winch strap and bunk alignment
A snug bunk-to-hull fit is critical. Misaligned bunks create pressure points that wear into the hull over repeated launches. Keep the winch strap connected until the PWC is fully floating on the water. Releasing it too early lets the craft slide prematurely, which risks damage to both the hull and the trailer.
Routine trailer maintenance is non-negotiable for safe ramp use. Check these items before every season:
- Wheel bearings: repack or replace annually for saltwater use
- Trailer tires: inspect for sidewall cracking and maintain correct pressure
- Winch strap: look for fraying, especially near the hook end
- Bunk carpet: replace when worn through to the wood frame
- Lights and wiring: test all connections before towing
Pro Tip: Back your trailer slowly and use a spotter whenever possible. On narrow or steep ramps, a second set of eyes prevents costly contact with dock edges or other trailers.
What safety and etiquette guidelines should jet ski owners follow at launch ramps?
Jet ski ramp safety is as much about behavior as it is about equipment. PWCs can launch and clear a ramp in 90 seconds, which is significantly faster than most boats. That speed advantage creates a responsibility to use it.
Follow these steps in order for a clean, courteous launch:
- Stage your gear in the parking area before pulling to the ramp. Remove tie-down straps, install drain plugs, and attach safety lanyards before you back down.
- Back the trailer into the water until the PWC floats free of the bunks. Do not release the winch strap until the craft is fully floating.
- Pull the trailer clear of the ramp immediately. Do not idle at the ramp while you organize gear or talk to other riders.
- Maintain no-wake speed until you clear the designated launch zone. Local signage defines this distance, and ignoring it creates hazards for swimmers and other watercraft.
- On retrieval, load the PWC, secure the winch strap, and drive the trailer fully clear before stopping to drain water or secure equipment.
Clearing the ramp in under 90 seconds is not just courtesy. At busy public ramps, a single slow launch can back up a line of trailers and create conflict. Preparation before you reach the ramp is what makes that speed possible.
Pro Tip: Review jet ski safety procedures before your first launch of the season. Knowing your safety lanyard protocol and kill switch behavior prevents incidents at the ramp and on the water.
How to install and maintain a private jet ski ramp or floating dock
Installing a private ramp or floating dock requires planning before any hardware goes in the ground. Skipping the planning phase is the most common reason DIY ramp installations fail or require costly rework.
Planning and permitting
Start with these steps before purchasing materials:
- Check local regulations and obtain any required permits. Many jurisdictions require approval for permanent structures on navigable waterways.
- Measure your shoreline slope and calculate ramp length based on the lowest expected water level. Planning ramp slope based on lowest tide guarantees the ramp supports the jet ski at all water levels.
- Identify the prevailing wind direction. Aligning the dock entry facing prevailing wind keeps the PWC centered during approach and reduces lateral drift.
- Select your material based on water type. Saltwater environments require galvanized or stainless steel hardware throughout. Standard zinc-plated hardware corrodes within one season in salt or brackish water.
Anchoring methods
Fixed ramps attach to the shoreline with concrete footings or driven pilings. They work well where water levels are stable. Floating docks require a different approach. Hinge connectors or sliding brackets must be used to allow vertical movement with tidal changes. Rigid bolting without vertical movement allowance causes hardware failure within one to two seasons. Drive-on floating dock systems use high-density polyethylene and can be assembled by a two-person team in about 2 hours.
Maintenance checklist
- Inspect all hardware connections at the start and end of each season
- Clean ramp surfaces with a stiff brush to remove algae and biofilm buildup
- Check bunk padding and replace worn sections before they expose bare wood or metal
- Adjust floating dock bracket tension after significant water level changes
- Treat pressure-treated lumber with a water-repellent sealant every two to three years
Pro Tip: Install a cleat or tie-off ring at the end of your private ramp. It gives you a secure point to hold the PWC while a second person retrieves the trailer, which prevents the craft from drifting into the dock structure.
What advanced ramp setup options and accessories enhance jet ski launching?
Beyond the basic ramp and trailer, a range of accessories can make launching faster, safer, and less physically demanding. These additions are especially useful for frequent riders and anyone managing multiple PWCs.
Key accessories and upgrades worth considering:
- Roller guides: Side-mounted rollers on the ramp or dock edge guide the PWC onto the trailer centerline during retrieval. They prevent hull scrapes caused by off-center approaches.
- Electric winches: A 12-volt electric winch replaces manual cranking and is particularly useful on steep ramps or for heavier stand-up and runabout models. Pair it with a backup safety strap for redundancy.
- Lift slings: Fabric slings attached to dock-mounted hoists lift the PWC completely out of the water. This eliminates hull fouling and is the preferred solution for long-term storage at a private dock.
- Non-slip coatings: Marine-grade non-slip coatings applied to ramp surfaces reduce fall risk significantly. Products designed for fiberglass boat decks work equally well on wood and aluminum ramp surfaces.
- Side bumpers: Foam or rubber bumpers mounted along the ramp edges protect the hull during approach. They are standard on drive-on floating dock systems and easy to retrofit on fixed ramps.
Portable aluminum ramps serve riders who launch from multiple locations or travel to events. They fold flat for transport and deploy in minutes. For competitive riders who need jet ski wake setup and ramp orientation dialed in before race day, a portable ramp provides consistency across different venues.
Pro Tip: For multiple PWC setups, modular floating dock platforms allow you to expand the launch area by connecting additional sections. Plan for the maximum number of craft you will ever store before purchasing the initial platform size.
Key Takeaways
A proper jet ski launch ramp setup requires the right slope, matched trailer type, corrosion-resistant hardware, and consistent ramp etiquette to protect your equipment and launch efficiently every time.
| Point | Details |
|---|---|
| Standard ramp slope | Use a 10–15 degree angle or 1:12 rise-to-run ratio for safe, smooth launching. |
| Trailer matching | Choose bunk trailers for gradual ramps and roller trailers for steep or solo launches. |
| Hardware selection | Use galvanized or stainless steel hardware in all saltwater or tidal installations. |
| Ramp etiquette | Prepare all gear before reaching the ramp and clear the launch area within 90 seconds. |
| Floating dock anchoring | Install hinge connectors or sliding brackets to allow vertical movement with water level changes. |
Why ramp setup is where most PWC damage actually starts
After years around PWC racing and recreational riding, the pattern is clear: most hull damage does not happen on the water. It happens at the ramp. A bunk that is off-center by two inches, a winch strap released too early, or a ramp slope that is three degrees too steep creates cumulative damage that shows up as stress cracks and gel coat wear after a season or two.
The part that most guides skip is environmental alignment. Backing a trailer into a crosswind without accounting for how it pushes the trailer sideways is a skill that takes practice. The same applies to approaching a floating dock in a headwind versus a tailwind. These are not instinctive skills. They require deliberate repetition at your specific launch site before they become automatic.
Ramp etiquette also matters more than most riders admit. A slow, disorganized launch at a busy public ramp creates real friction with other users. Preparing everything before you pull to the ramp, including drain plugs, lanyards, and strap removal, is the single habit that separates experienced riders from beginners. It is also the habit that protects your equipment most consistently.
The investment in a well-planned ramp setup, whether private or public, pays back in lower repair costs, faster sessions, and a longer service life for your hull and trailer. Get the slope right, match the trailer to the ramp, and respect the space. Everything else follows from those three things.
— Casey
IPD Racing has the parts to back up your ramp setup
A well-configured ramp gets your PWC in the water. What happens next depends on the quality of your performance hardware.
IPD Racing carries race-proven PWC performance upgrades across engine, exhaust, steering, and handling categories. Whether you are dialing in a recreational setup or preparing for competition, the parts catalog covers everything from routine maintenance components to full performance builds. For riders focused on competitive events, the WCOT Watercross of Texas parts store at IPD Racing stocks event-specific hardware built for demanding conditions. Browse the full catalog and find the upgrades that match your watercraft and riding style.
FAQ
What is the correct slope for a jet ski launch ramp?
The standard slope for a jet ski launch ramp is 10–15 degrees, based on a 1:12 rise-to-run ratio. A slope outside this range either creates a walking hazard or prevents the PWC from sliding off the trailer cleanly.
What is the difference between a bunk trailer and a roller trailer?
Bunk trailers cradle the hull on carpeted pads and work best on gradual ramps. Roller trailers use rolling supports that let the PWC slide on and off easily, making them the better choice for steep ramps or solo operators.
How long should it take to launch a jet ski at a public ramp?
A prepared PWC owner can launch and clear a public ramp in under 90 seconds. Removing tie-downs, installing the drain plug, and attaching the safety lanyard before reaching the ramp makes that time achievable.
What hardware should I use for a saltwater jet ski ramp installation?
All fasteners, brackets, and connectors in a saltwater or tidal installation must be galvanized or stainless steel. Standard zinc-plated hardware corrodes within a single season in salt or brackish water.
Do floating jet ski docks need special mounting hardware?
Floating docks require hinge connectors or sliding brackets that allow vertical movement with tidal changes. Rigid bolting without this allowance causes mounting hardware failure as water levels fluctuate.

